
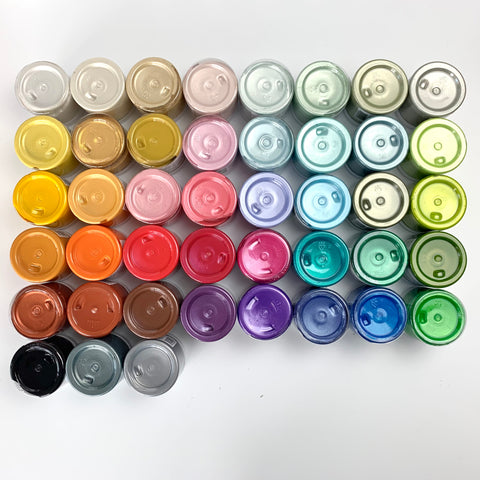
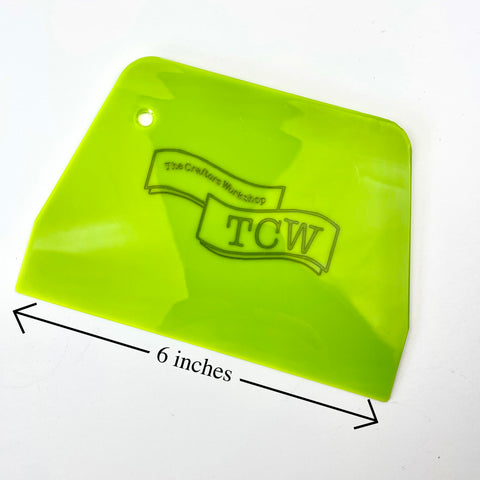
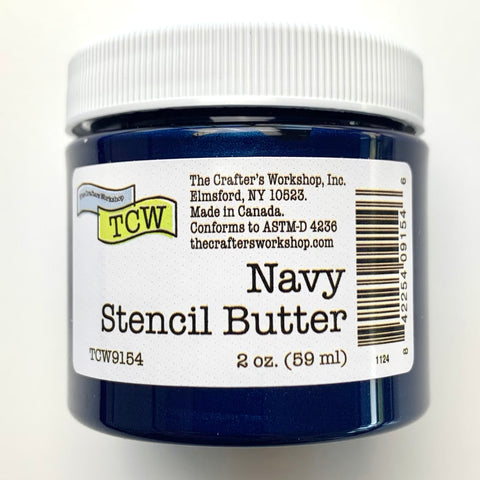
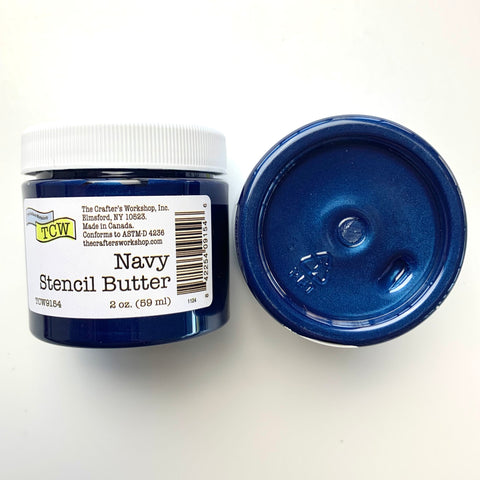
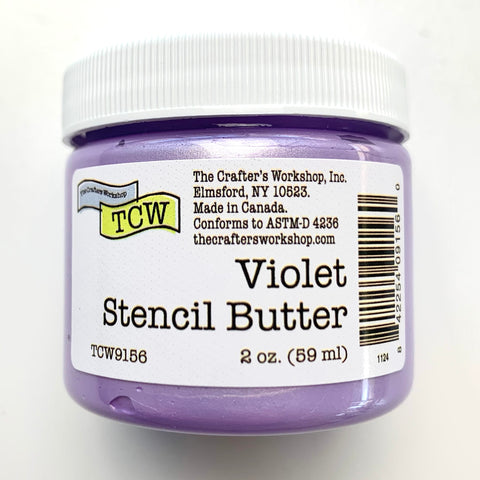
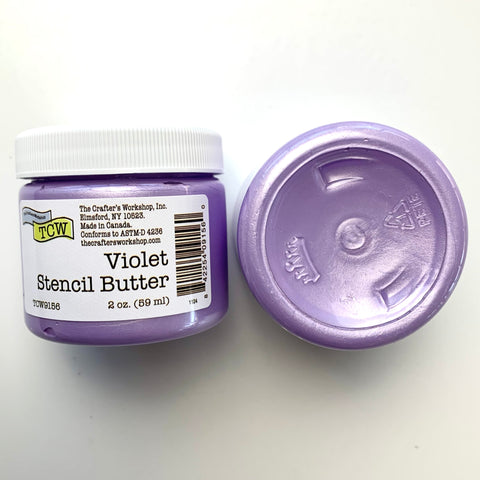
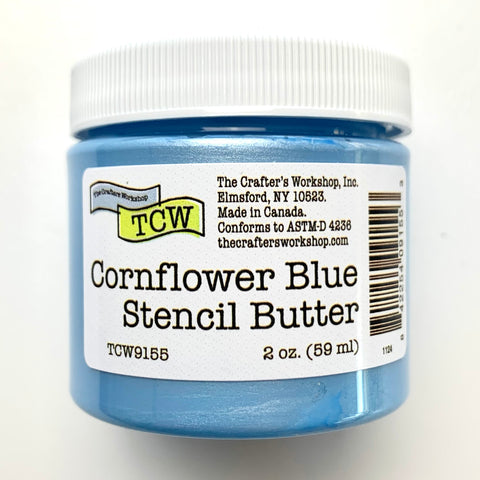
Stencil and butter kit
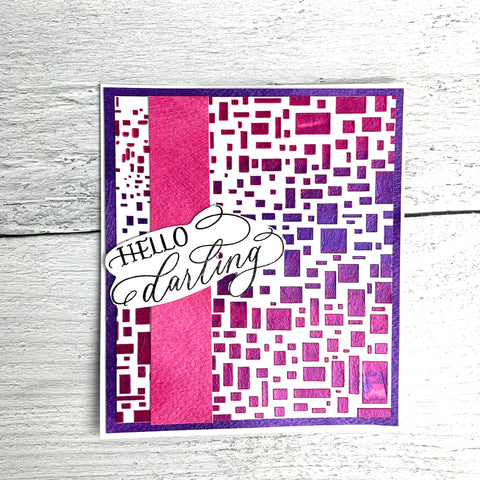
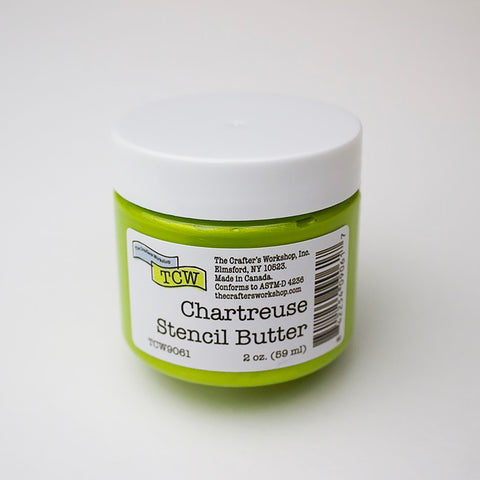
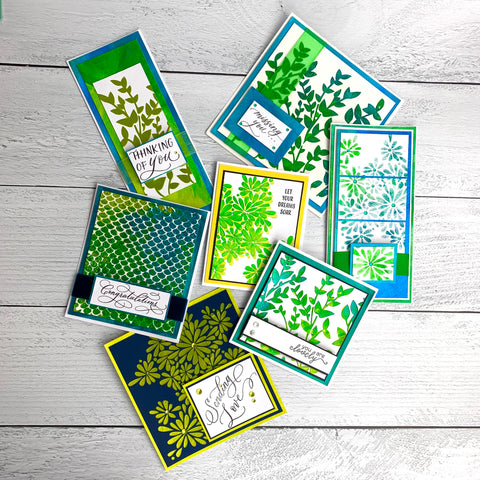
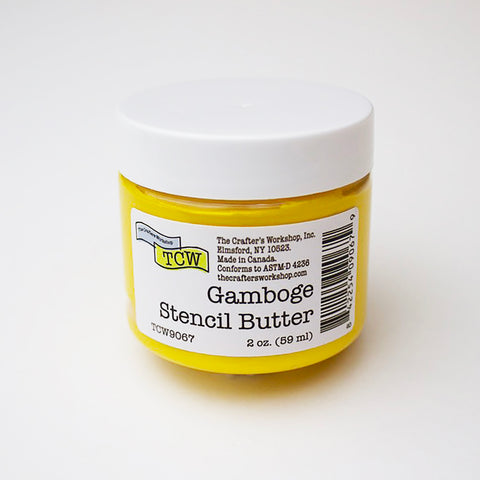
Create gorgeous cards with shimmery texture using one of our Stencil and Butter Kits! A perfectly curated collection of colors, textures and patterns to design standout cards for any occasion!


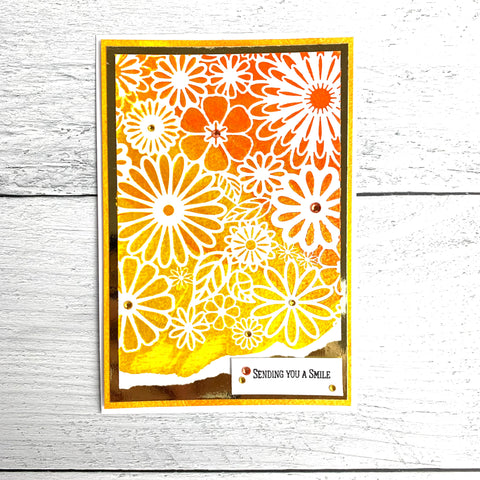
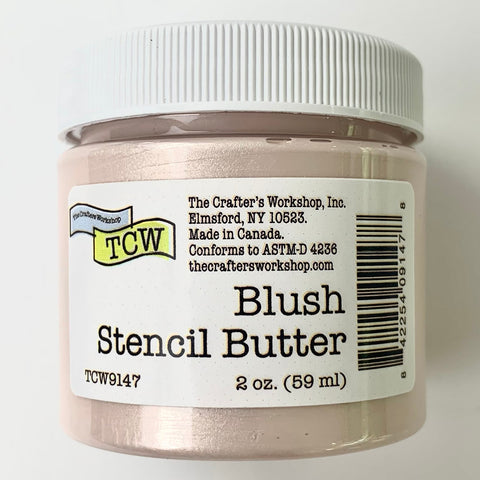
Create gorgeous cards with shimmery texture using one of our Stencil and Butter Kits! A perfectly curated collection of colors, textures and patterns to design standout cards for any occasion!
We're so happy you've stopped by. We love creating beautiful products just for you. You inspire us. Share your work with us wherever you post #TCWstencils ♥ Jaime

Phone: (914) 345-2838

hello@thecraftersworkshop.com

1 Entrance Way,
Valhalla, New York 10595
Us